Key Takeaways
- A crypto wallet is essential for managing and trading cryptocurrencies.
- Prioritize wallets with solid security measures like two-factor authentication and multi-signature support.
- To open a crypto wallet account, you must choose a reputable wallet provider, provide personal information for KYC/AML compliance, and understand the concept of public and private keys.
The cryptocurrency market has experienced growth, and its prospects remain promising. As investors continue to speculate on the potential of digital assets, traders and investors have plentiful opportunities.
The first step in participating in the cryptocurrency market is to create a crypto wallet. This article will explore why crypto wallets are essential, what features to look for, how to choose the proper exchange, and how to set up a wallet that suits your needs.
How to Create a Crypto Wallet
Creating a Software Crypto Wallet
A software crypto wallet is essential for managing and trading cryptocurrencies. Here’s a step-by-step guide:
- Choose a Wallet: Select a reputable software wallet like Exodus, Electrum, or Trust Wallet.
- Download the App: Install the wallet app on your phone or computer.
- Create an Account: Register for an account by providing basic information and completing identity verification if required.
- Transfer Assets: Deposit funds from a bank account, exchange cryptocurrencies, or receive funds from other wallets.
Top Software Wallets
| Company | Currencies Supported | Bitcoin Support | Incorporated Exchange | Customizable Fees | Compatible Hardware |
| Exodus | 260+ | Yes | Yes | Yes | Yes |
| Electrum | 1 | Yes | No | Yes | Yes |
| Guarda | 400,000+ | Yes | Yes | Yes | Yes |
| Coinbase Wallet | Hundreds of thousands | Yes | Yes | Yes | Yes |
The number of supported currencies and other features may change over time. Check the latest information from each wallet provider.
Related Article: Best Software Wallets for 2026
Creating a Hardware Wallet
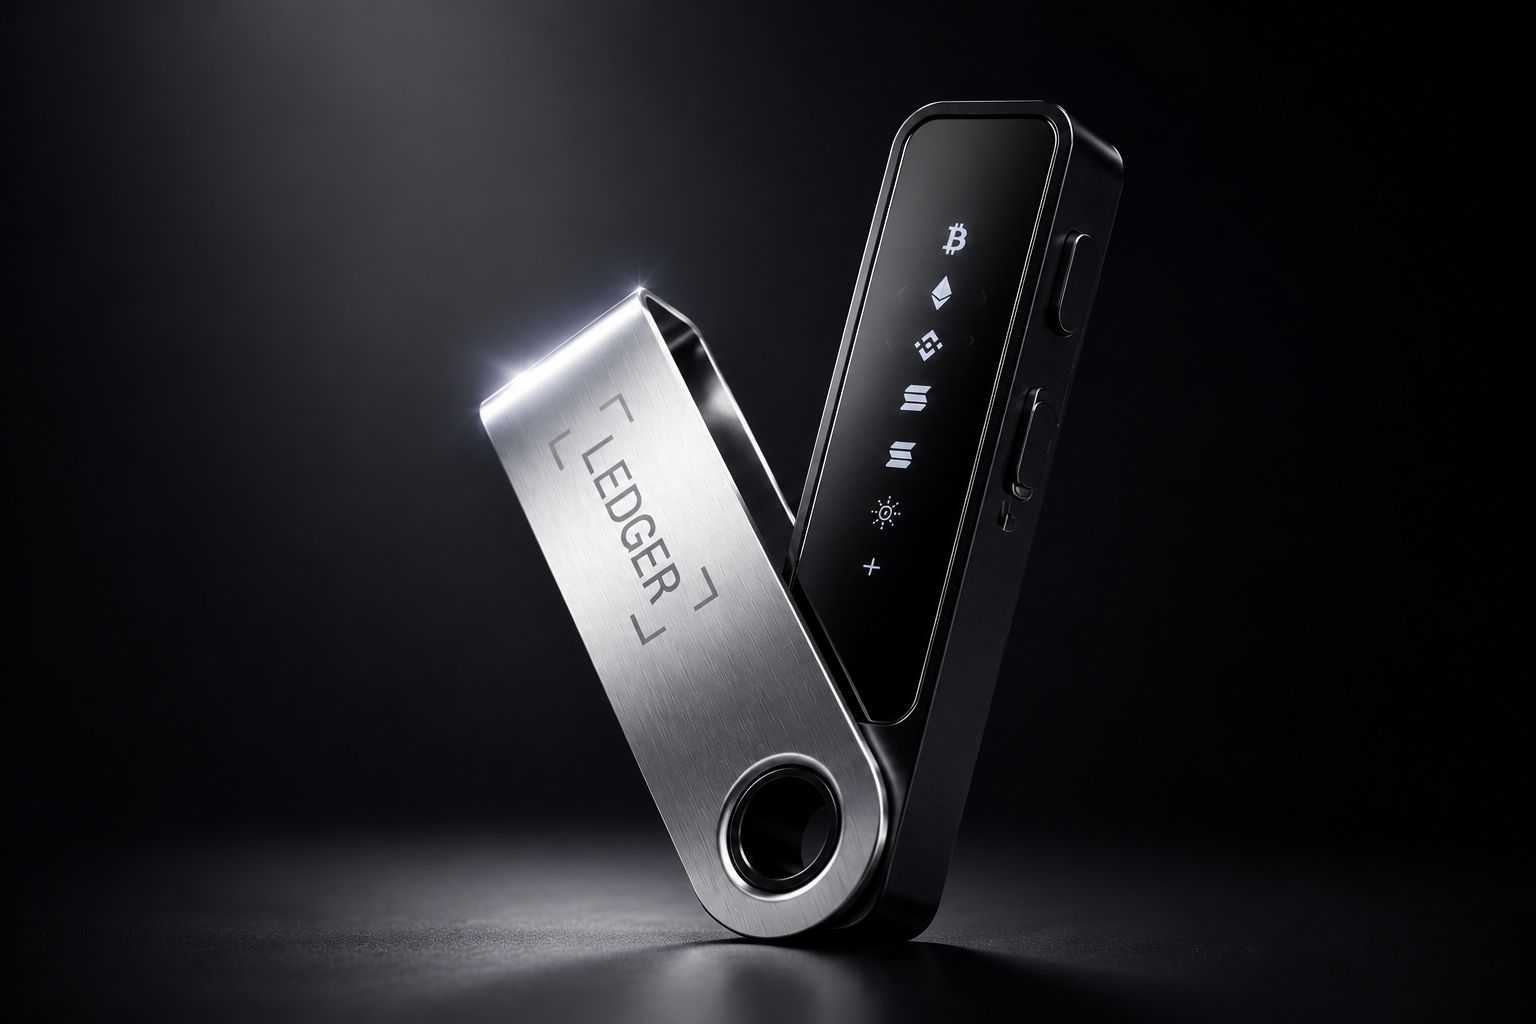
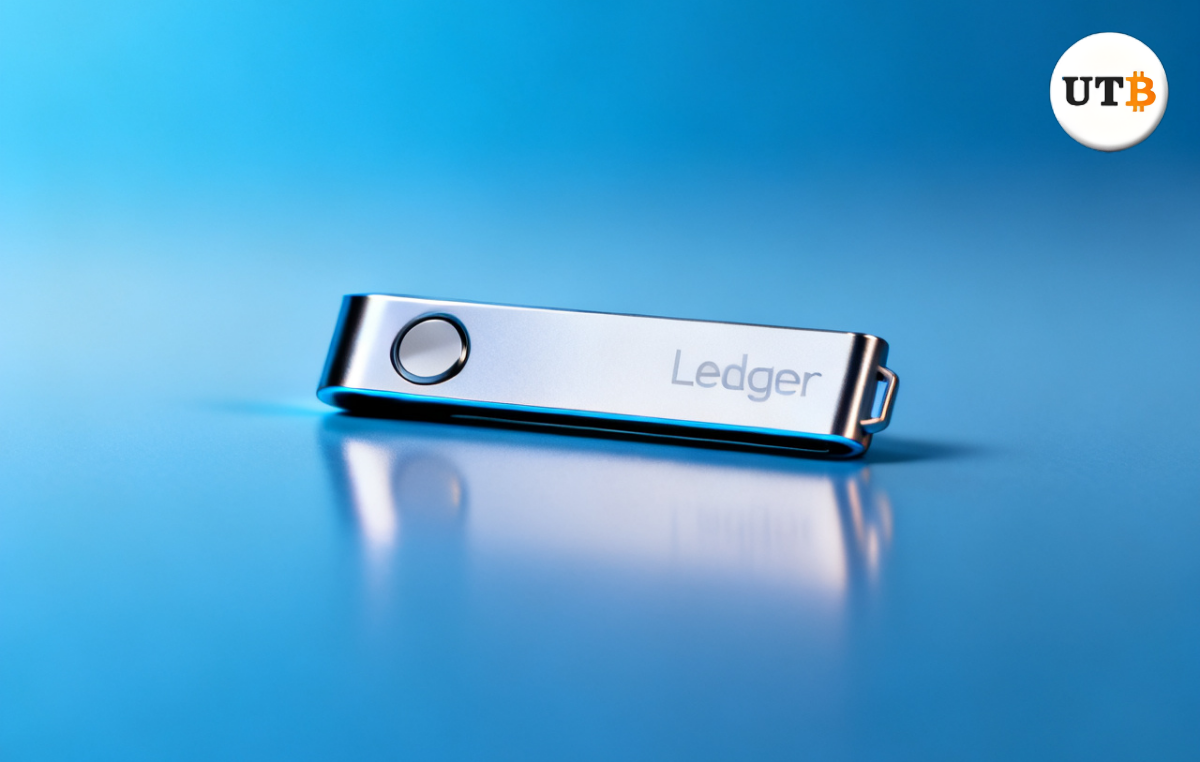
- Choose a Wallet: Research and select a reputable hardware wallet, such as the Ledger Nano X, Trezor Model T, or KeepKey.
- Purchase and Setup: Buy the hardware wallet and install the required software following the manufacturer’s instructions.
- Transfer Cryptocurrency: Link your hardware wallet to a brokerage account or exchange to transfer your crypto assets. Once assigned, your crypto will be stored securely offline.
Top Hardware Wallets
| Company | Type of Wallet | Purchase Cost | Incorporated Exchange | Compatible Hardware |
| Trezor Model T | Cold Wallet | $219 | Yes | Yes |
| Ledger Nano X | Cold Wallet | $149 | Yes | Yes |
| Electrum | Cold Wallet | Free | No | Yes |
| Exodus | Hot Wallet | Free | Yes | Yes |
This table provides a general overview. Specific features and pricing may vary. Researching and comparing different hardware wallets is recommended to find the best option for your needs.
Related Article: Top 5 Crypto Hardware Wallets In 2026
Creating a Paper Wallet
A paper wallet is a simple and secure way to store cryptocurrency offline. Here’s how to create one:
- Use a Wallet Generator: Visit a reputable online wallet generator to create a unique public and private key pair.
- Go Offline: For added security, generate the keys offline to minimize the risk of online attacks.
- Print and Secure: Print the private key on paper and store it safely to protect it from loss or theft.
Opening a Crypto Wallet Account
To open a crypto wallet account, you must choose a reputable wallet provider, provide personal information for KYC/AML compliance, and understand the concept of public and private keys. This information will allow you to successfully create a wallet and manage your digital assets.
Factors for Choosing a Crypto Wallet
When choosing a crypto wallet, prioritize security, fees, supported cryptocurrencies, and customer service. By carefully considering these factors, you can select a wallet that meets your needs and protects your digital assets.
Final Thoughts
A crypto wallet is essential for managing and trading cryptocurrencies. You can create a wallet that suits your needs by choosing a reputable provider, understanding public and private keys, and prioritizing security. Remember to consider factors like fees, supported cryptocurrencies, and customer service when making your selection.
Check out these related articles.
Link to:
Is Your Crypto Safe? Understanding Wallet Security