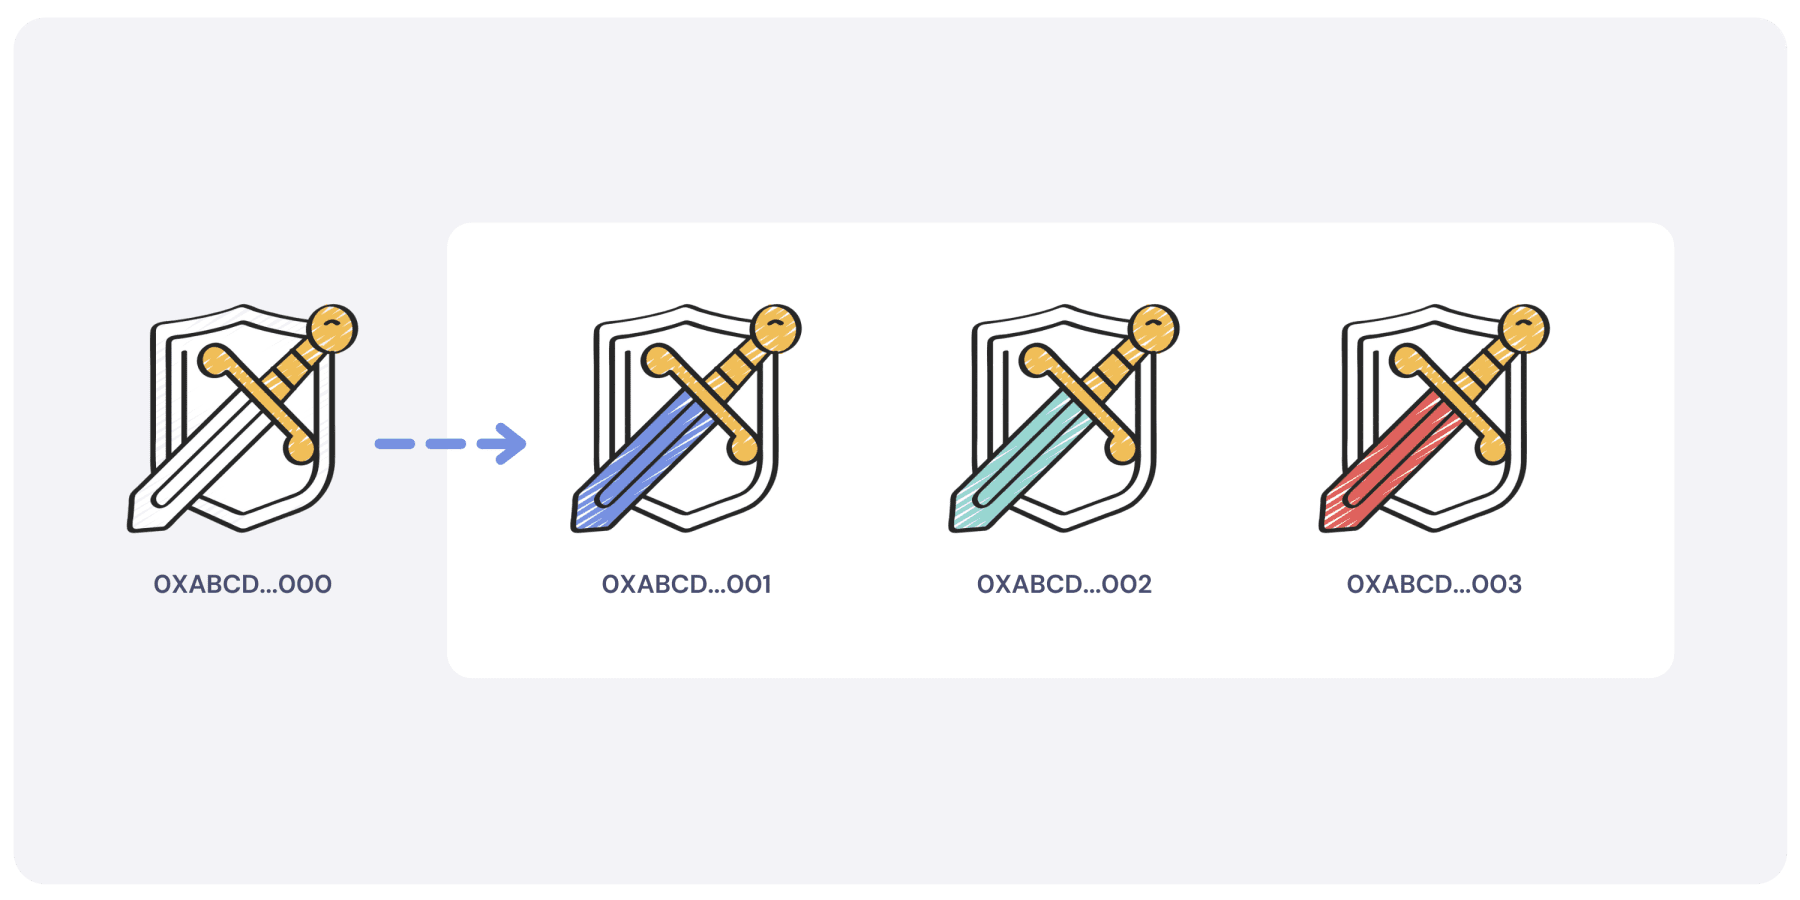
Non-fungible tokens, better known as NFTs, are digital assets that can be used to represent physical or virtual objects with proof of ownership backed on the blockchain. This makes it easy to prove the authenticity of a piece of art, certificate, music, and so on, and this has given creators power who for years have suffered from piracy and intermediaries. As Web2 evolves into Web3, NFTs promise to play a crucial role, especially in the development of the metaverse, as they will be used to prove ownership of virtual identity, possessions, and so on. This guide will focus on how to make an NFT in a few short steps. If you have a programming background, you can even write and deploy your own NFT smart contract by following this link.
Types Of NFTs You Can Make
Coingecko categorizes the NFT marketplace into eight segments; art, music, collectibles, games, sports, metaverse, utility, and financial. Depending on your specialty, you can base your NFT project on any of the above broad categories.
Pick A Blockchain To Mint Your NFT
When deciding where to mint an NFT, you must pick the right blockchain network as this is the technology your clients will be interacting with. It’s important to consider the technology’s cost, usability, and future support. Also, you need to consider the commissions charged for the minting and who will pay for it. That said, plenty of protocols allow users to mint NFTs today. Some popular options include Ethereum and layer-2 networks built on it such as Base and Arbitrum, Solana, Polygon, Cardano, BNB Smart Chain, Tezos, WAX, EOS, Avalanche, Flow, Polkadot, and Algorand.
How To Create An NFT On A Marketplace
To create an NFT, you will have to visit a marketplace that allows you to design your digital art and then put it on sale. Thanks to the explosive growth of the sector, plenty of options exist today. Below let us explore how you can create NFTs on different marketplaces.
How To Create An NFT On Opensea
Opensea is one of the largest NFT marketplaces. There are several reasons why you should opt to use this platform to mint your first NFT, as it covers all types of NFTs from art, music, photography, collectibles, sports, virtual worlds, and so on. You can create NFTs with its Studio tools on Ethereum and other EVM chains, but not on Solana. OpenSea takes no fee for creating, though you pay gas to deploy your collection’s contract and to mint, and it charges 1% when you sell.
- To get started, visit the platform’s official website, select Studio from the left sidebar and click Create new, then choose Create Collection.
- The next step involves connecting to any of the available wallets. If you don’t have one, you can create. Accept the terms of service and proceed.
- First you deploy a smart contract for your collection: add a logo, a contract name and a token symbol, pick an EVM blockchain and click Publish Contract. This costs gas, and the name and symbol can’t be changed later. Then open the Media & Metadata tab and upload your artwork (up to 50MB).
- Name the item and set its supply (a supply of 1 makes it unique). You can also add a description, an external link and traits.
- Click Mint and approve the transaction in your wallet, which also costs gas. You can add more items to the collection later.
How To Create An NFT On Rarible
This is another Ethereum-based platform that allows users to create, buy and sell NFTs based on things such as photographs, games, and memes. This platform prides itself as a community-centric NFT marketplace that can allow you to turn your products or services into publicly tradable items.
- To mint your first NFT on Rarible, you will have to select a network where you intend to do it. Rarible’s create tool now runs on its original site, og.rarible.com, and offers about 16 networks, including Ethereum, Polygon, Base and Arbitrum. Solana and Flow are not among them. Remember, different networks will charge varying minting fees.
- Click on “Connect Wallet” and choose your preferred option.
- Finish setting up your account by entering a display name plus email to be notified whenever your NFT sells or receives an offer. Remember to agree to the terms of service and then click on “Finish sign-up.”
- Proceed to “Create” on the top bar. Then select your network and then choose the type, either single or multiple.
- Now it’s time to upload your file, which can be in PNG, GIF, WEBP, MP4, or MP3 format. Remember to keep it under 100 MB in size.
- Choose a collection for your NFT to make it easier to find, or you can go with the default RARI collection.
- Then give your art an attention-grabbing title and add a compelling description that will make it irresistible to buyers.
- The next step involves choosing the sale type. This can be fixed price, open auction, or timed auction.
- Then select the royalties you want to receive from every secondary sale.
- There is an option to add unlockable content like secret links, vectors or files, and other things.
- Finally, enable free minting to skip gas fees, i.e., if you want to.
After you are done with the above steps, it’s time to bring your NFT to life by clicking on “Create item.” Proceed to sign the transaction with your wallet, and the NFT will be listed on Rarible.
How NFT Creation Worked On Binance
Status (October 2026): Binance ended the NFT service on its exchange on July 3, 2026. Users had to withdraw their NFTs to Binance Wallet or another wallet, and the steps below describe the old service. To mint an NFT today, use a marketplace such as OpenSea or Rarible.
Binance is a leading crypto exchange that has diversified its offering over the years, allowing various crypto services to take place under the same platform. Its offerings used to include an NFT marketplace where users could create and trade NFTs.
The first step is to sign up on the platform by visiting the official website. Then proceed to verify your account by submitting a copy of your ID/passport and facial scanning. Once the account is verified, visit the NFT section and click “Create.”
You will notice you need at least 5 followers on your profile to be allowed to mint your NFT. Proceed to share your profile using social media handles to gain some followers before you are allowed to proceed.
The next step involves creating an NFT collection that has to be approved. On the Binance NFT Marketplace homepage, click on “Create,” where you will be redirected to the minting page. Click on “+ Collection.” Ensure you have sufficient BNB or ETH balance in your spot wallet to cover the fees.
You will be redirected to create a collection page where you will have to enter key details about the collection, including name, description, category, logo image, banner image, network (BNB Smart Chain or Ethereum), and symbol to track the token. Also, you can add the smart contract owner’s address; however, this is optional. This involves binding a wallet to the collection, and it’s crucial if you want to claim ownership of your collection on the DeFi marketplaces.
To bind a wallet, copy and paste the wallet address and then click “Add a Wallet.” You will be redirected to the “Connect Wallet” page.
Choose the network of your wallet and select “confirm.” You will notice there is an option to go with BNB Smart Chain (BSC) or Ethereum (ETH). Proceed to select the wallet you want to connect. This can be MetaMask or WalletConnect.
After you are done, proceed to read and agree to the Binance NFT minting rules and terms of service, then click “Create.” Then click on “Continue.”
By creating the collection, you will get an independent, smart contract deployed for you, which might take a while to execute. Once everything is set up, you will receive an email notification. Now you are all set to mint your NFTs on Binance.
- Visit the NFT marketplace homepage and select “Create.”
- Read and accept the terms and conditions.
- You will be taken to a minting page where you have to enter details for the NFT, including name, description, network, select the collection it will be part of, and add properties.
- After filling in all the details, you will see an estimated minting fee. Proceed to read and agree to the minting rules and click “Create.”
- The file will be reviewed and uploaded if it doesn’t breach any of the platform rules. You can click on the view item to see it before listing it for sale.
Conclusion
This is by no means an exhaustive list. Plenty more platforms allow one to create and sell digital art. Some will even allow you to write and deploy your own code if you are technically adept, or you can opt for the simplified protocols like the ones listed above, where by following a few simple steps, you can bring your NFT to life.